Using Azure CloudShell as a Dev Sandbox
Have You Heard of CloudShell?
Back in around the Build 2017 timeframe, the first implementation of [Azure CloudShell](https://docs.microsoft.com/azure/cloud-shell/overview) was rolled out, bringing the ability to run Azure CLI commands from the context of a logged in Azure session, from anywhere the Azure Portal could be loaded (i.e. a browser). This allowed you to do many things via the command line in the Azure world without having to use the GUI or have the tooling installed on your machine. Since that time, there have been a ton of features rolled out to CloudShell, and it can be accessed via it's own url [https://shell.azure.com/](https://shell.azure.com/), though you can still access it via the portal like so.
[

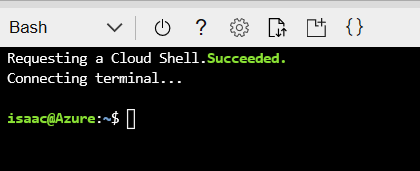
After initiating CloudShell if you haven’t before, it will ask you a few things, like what Resource Group you want to install CloudShell in (CloudShell is temporary but needs Azure Files to persist your files). You are also given the option to default what terminal interface you want (PowerShell of Linux Bash). The experience you see when opening CloudShell is a terminal view that is connected to your chosen Azure Directory.
[
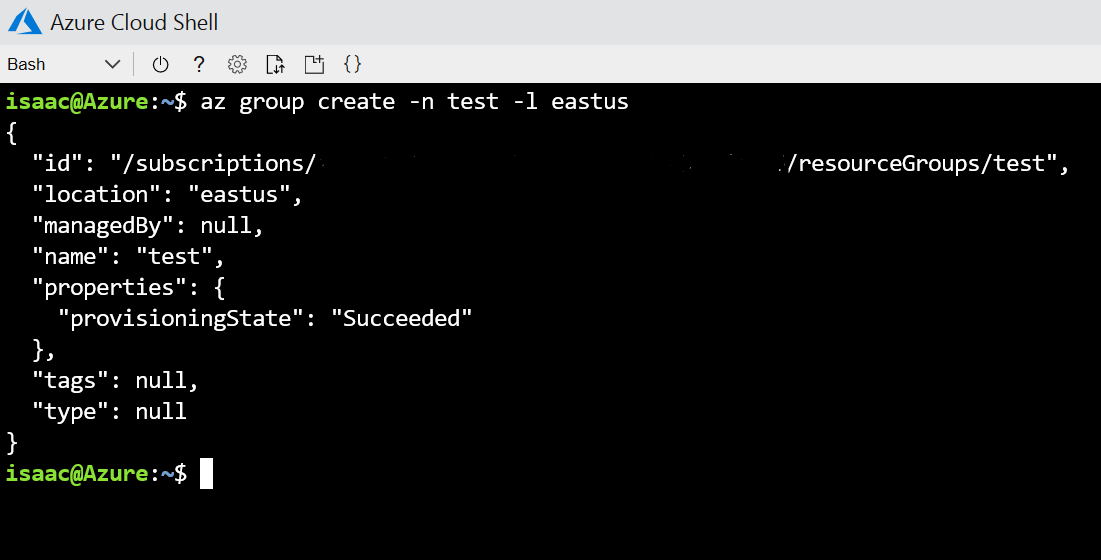
From here, you can do some typical Azure things, like maybe create a resource group and see the output.
[
That is pretty cool, the idea of being able to do many things Azure related in the browser without the tooling on your matching is pretty powerful.
Tooling Built into CloudShell
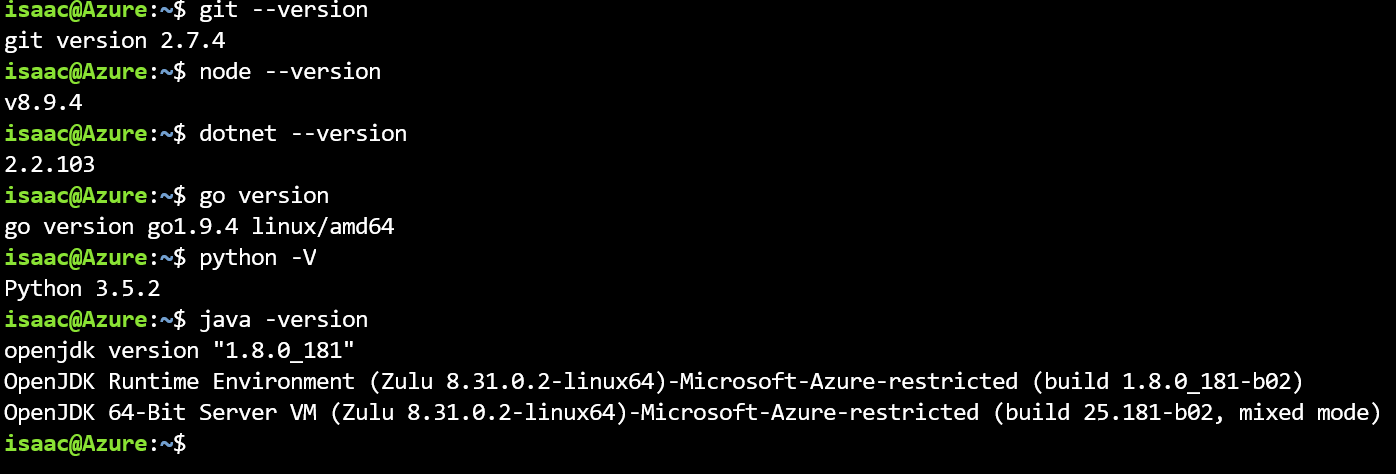
I was poking around at the idea of doing some dev tasks on my [Surface Go](https://www.microsoft.com/p/surface-go/8v9dp4lnknsz), which didn't have VS Code on it yet, using what online tools I had. I wanted to take a look at CloudShell and see how far I could go, since there are some cool features and tools built in. I asked around with some of my friends on Twitter, and found out there are a whole slew of [tools pre-installed on CloudShell](https://docs.microsoft.com/azure/cloud-shell/features#tools), like .NET Core, Node.js, Java, Python, git and many more.
[
An Idea
Than I had a fun thought, could I create an ASP.NET Core application, using the .NET CLI, make some coding changes to it via the built-in VS Code support for CloudShell, test it using some method of ip forwarding, check my code into GitHub and finally deploy the code to Azure App Service. I was pretty certain all this could be done.
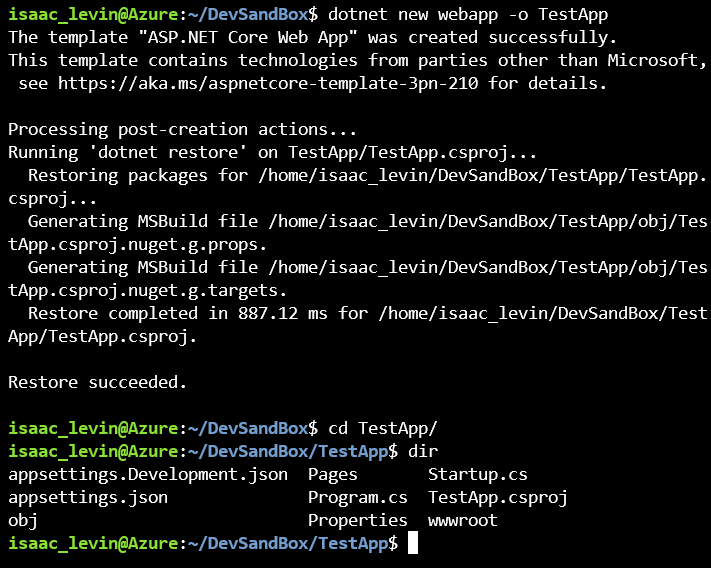
I did my first step, creating a ASP.NET Core App and validating the correct bits were put there.
[
If I simply run code . in the context of the generated project folder, an instance of VS Code will open inside CloudShell
[

At this point, I can make coding changes per my need, and now I want to be able to run the application and test it in a browser. I than saw my friend Anthony Chu mentioned the ability to run ngrok (a way to expose local server to public internet) inside of CloudShell.
✨ Today's #Azure #CloudShell tip:
— Anthony Chu #MSIgniteTheTour (@nthonyChu) December 18, 2018
Did you know you can build and test web apps in with Cloud Shell Editor and #ngrok?
Learn more about Cloud Shell at @docsmsft: https://t.co/zZ35DBhc96 pic.twitter.com/hgJFeQN2Uj
So what I will need to do is get ngrok running on my CloudShell instance. Well I know if I run a this command, I will get some high-level system info about the CloudShell OS
| |
[
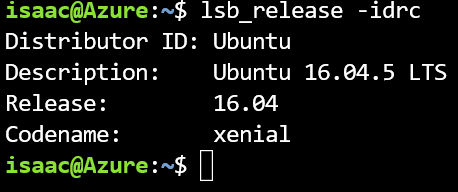
Ok, I have x64 Ubuntu, to work with, so I can go download the zip from the download page (be sure to signup for a free account), unzip the file, and save the application to our path.
NOTE: The url and my path may/will be different than yours.
NOTE: Also you can upload the files directly with CloudShell instead of using curl.
```bash mkdir DevSandbox cd DevSandBox curl https://bin.equinox.io/c/4VmDzA7iaHb/ngrok-stable-linux-amd64.zip -o ngrok.zip unzip ngrok.zip export PATH="$PATH:/home/isaac_levin/DevSandBox" # This line will connect your ngrok account using your auth token ngrok authtoken
NOTE: Ngrok does not work over https, which is on by default with ASP.NET Core 2.1 and on. Disabling the https redirect in `Startup.cs` will resolve this.
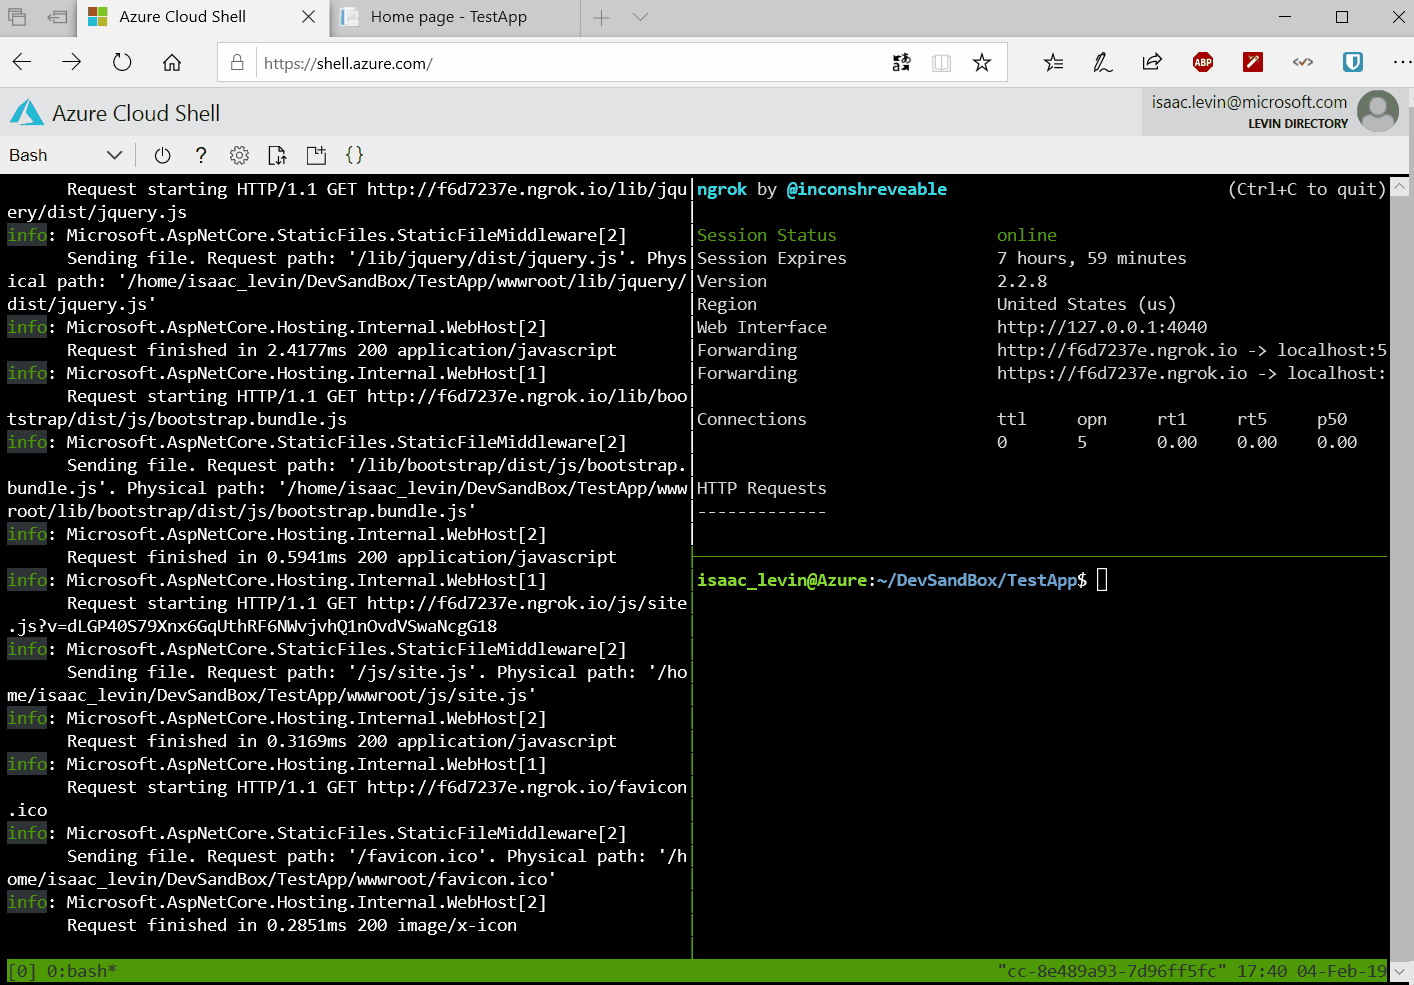
Now I can run ngrok from my terminal, and a tunnel to whatever port I specify and I will get a unique url. One thing that I will need to do is run my application, and than run ngrok against the port that my application is running on. To do this, I will need to have 2 running terminal sessions. Good thing, I can split sessions with [tmux](https://eoinoc.net/tmux-for-noobs). Here is some more information on [tmux support](http://azurepost.com/split-azure-cloud-console-multiple-panes/)
Than I just run my app in one session, and tunnel with ngrok in the other. Take the url generated and open it in a browser.

Pretty darn cool! To add an extra layer, let me open VS Code in CloudShell, and make some changes.
WOAH!!!
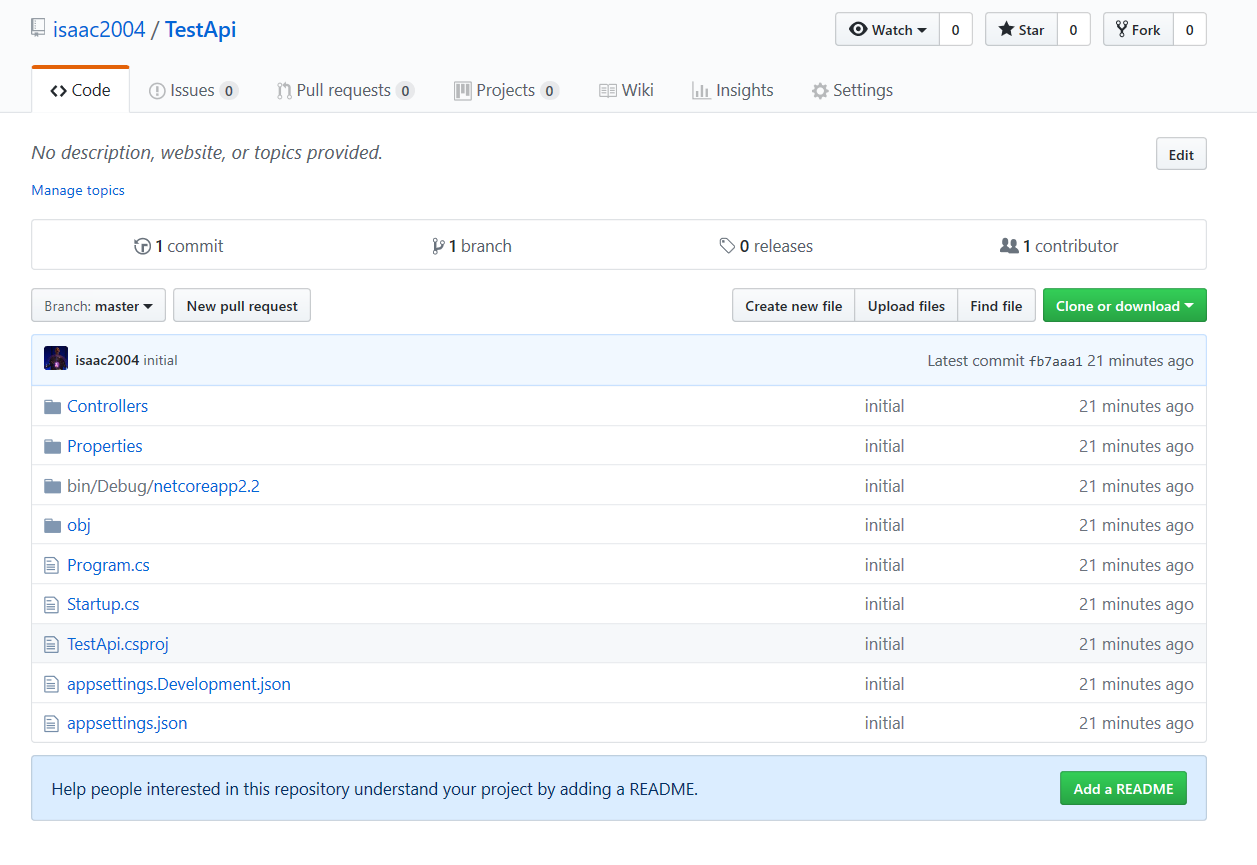
So with this, I can create, develop and test my webapp in CloudShell, no tools on my machine, just the browser. For grins and giggles, better commit this code to a GitHub repo I created.
| |
[
And finally, maybe we should deploy the code to the cloud. So I need to create an Azure App Service and deploy to it. Here is snippet for that
| |
Now you have the url of your webapp in Azure. Putting that in a browser takes you to the site that you just deployed to Azure.
[
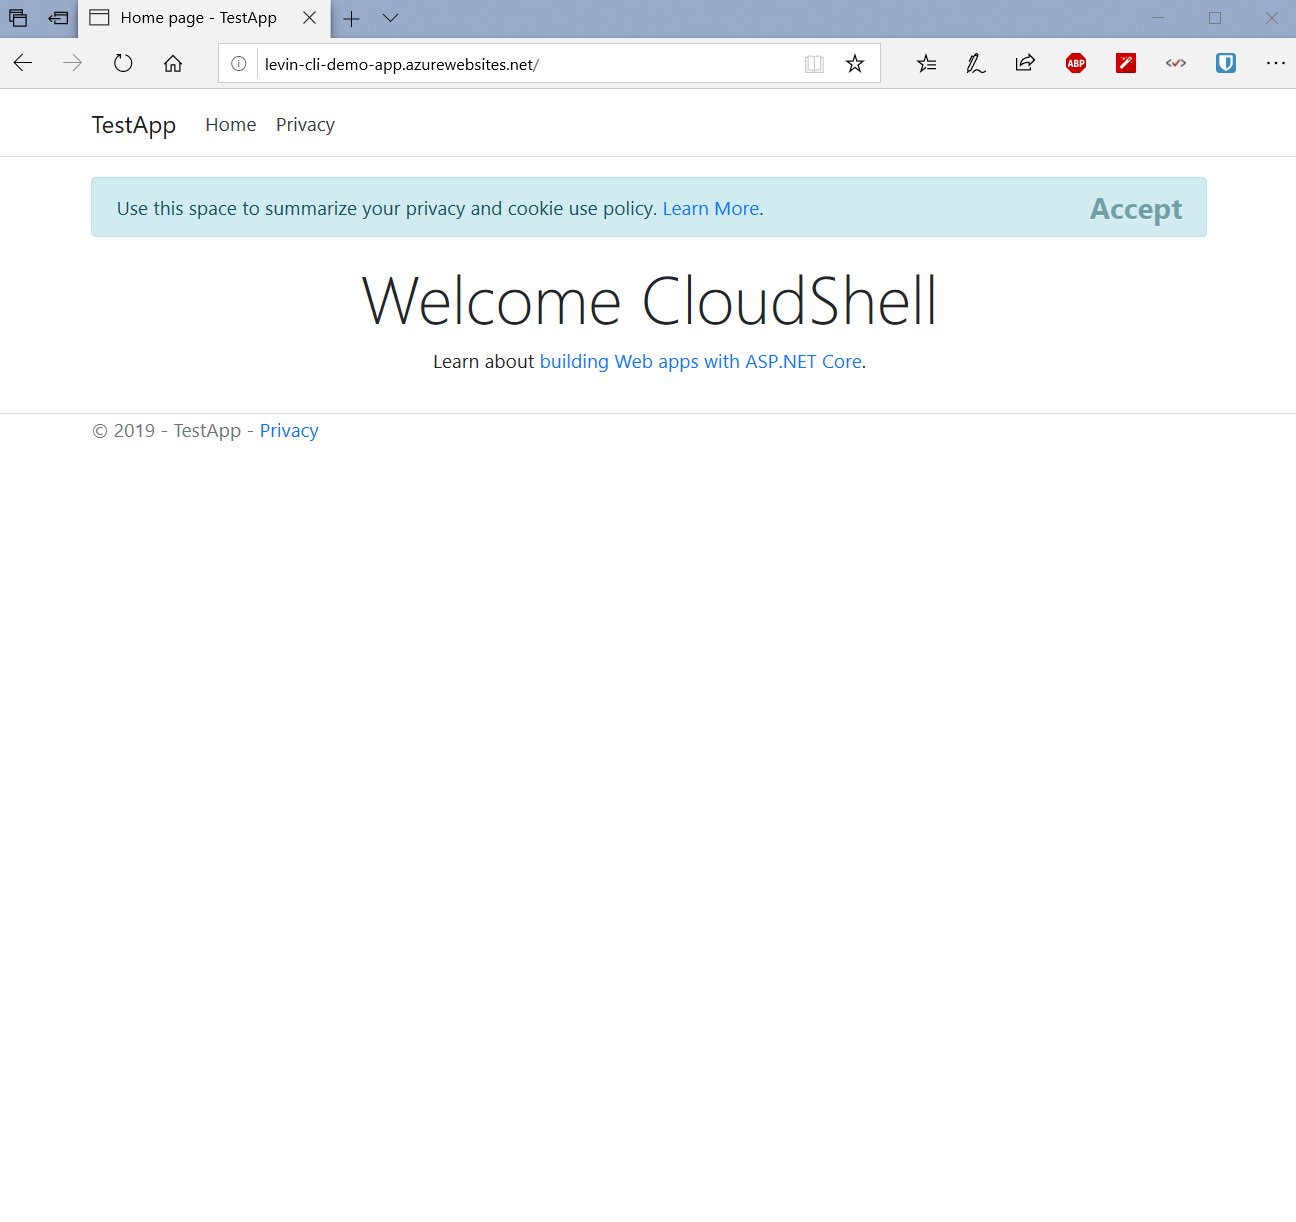
Pretty great stuff here! Being able to create, develop, test, and deploy an application to Azure AND commit to source control with no tooling other than a browser is pretty powerful. This example was with .NET but there are tons of languages supported in CloudShell (look above for all of them).
## Super Thanks
Thanks to the folks that enlightened and inspired me to blog about this.